|
| |
Bellstand
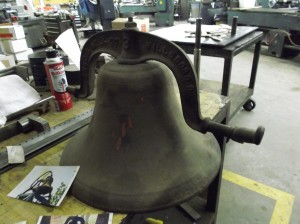
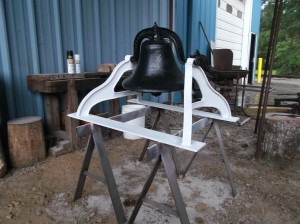
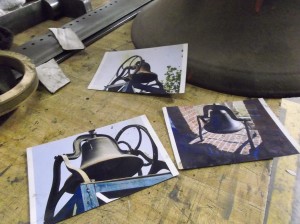
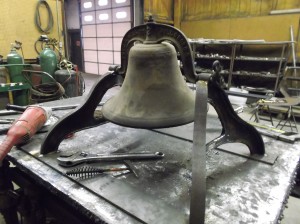
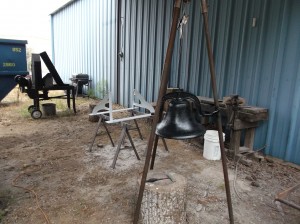
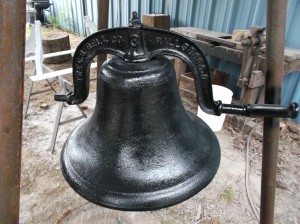
The distance between the gudgeons on the yoke is narrower than the bell's mouth and was made for mounting to a horse shoe shaped bracket on a pole or post. This made making a conventional pair of straight stand legs impossible because the bell's mouth would hit the legs as it swung back and forth.
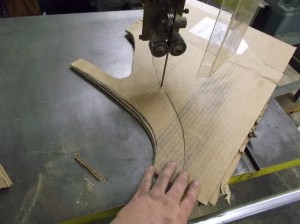
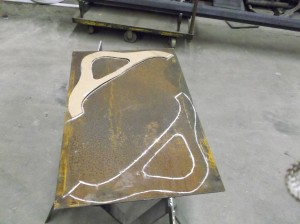
After some preliminary guesses at measurements I cut out a pattern from folded cardboard at the wood working bandsaw.
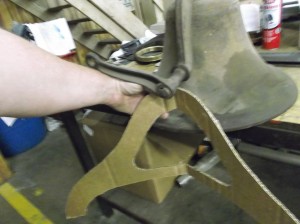
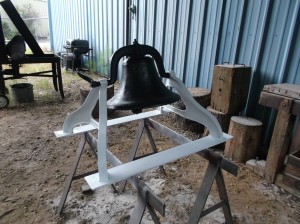
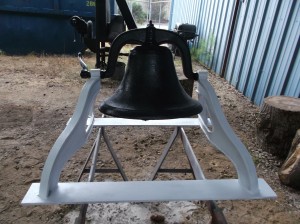
Bending the pattern in the middle shows how I can have the bearings atop the legs stick inward over the bell's mouth while the rest of the leg is swept back to give room for the bell to swing.
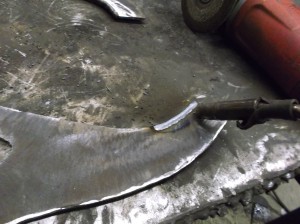
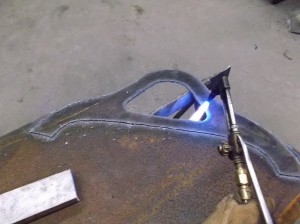
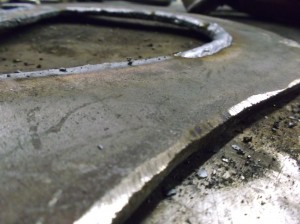
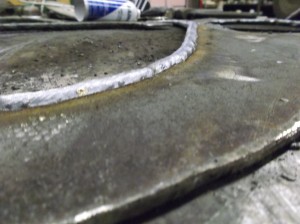
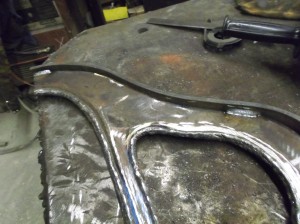
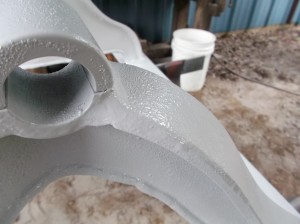
To give the effect of a cast piece, I weld several beads onto the edges of the cut out image with a wire welder.
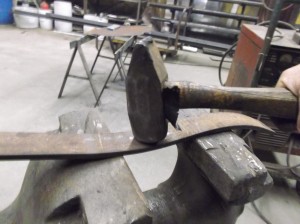
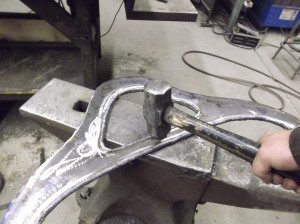
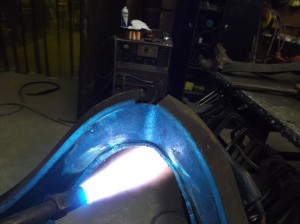
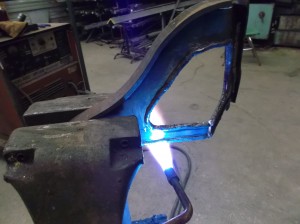
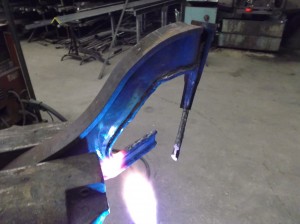
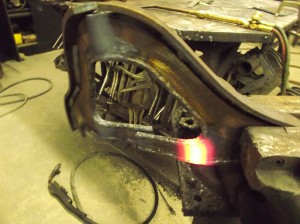
To form the main lip of the leg to the curves I gently bend a piece of 1/4" by 1 1/2" between the jaws of the vise.
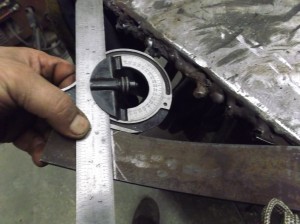
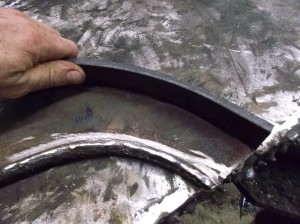
The material for the lip was left long and now needs to be cut off to length and to the angle that the entire leg will be bent to.
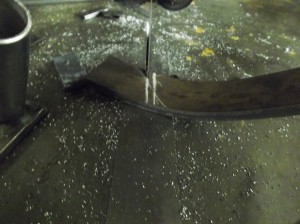
I cut the lip a little long the first time to see if it will match up with the other lip that goes on the other side of the leg.
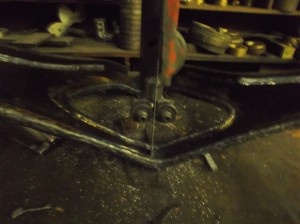
I do not wish the cross member of the leg to but stuck out like the bearing will be so I sever it in order to be straightened back.
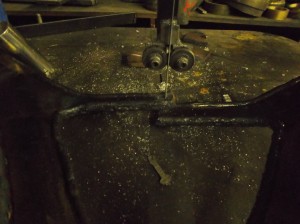
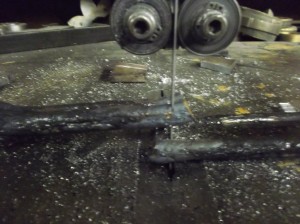
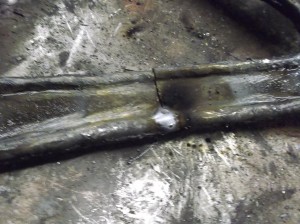
Cut the overlaped pieces on the metal cutting bandsaw together. This will give you just the saw blade kerf to weld up.
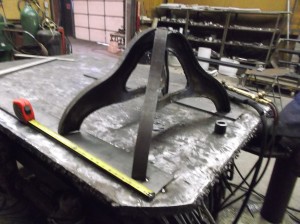
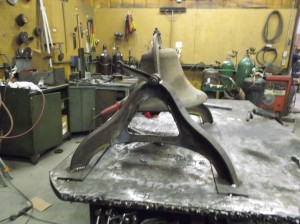
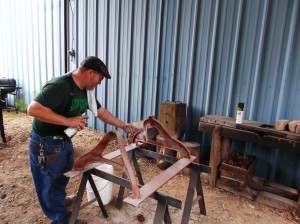
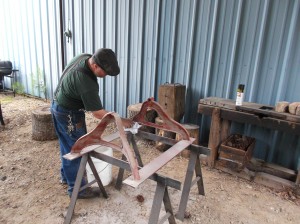
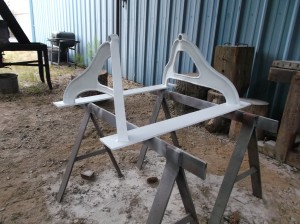
With both legs made I stand them on the welding table to get an idea of how long to make the base plates they will weld to.
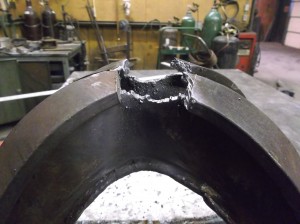
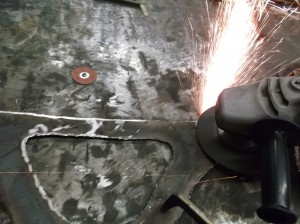
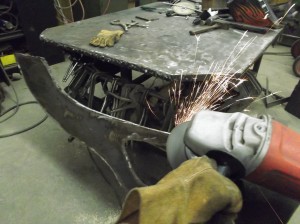
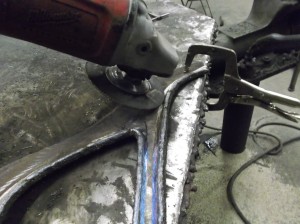
I also use this chance to torch a half round shape where the bearings will sit. This looks ragged but will be refined with a grinder.
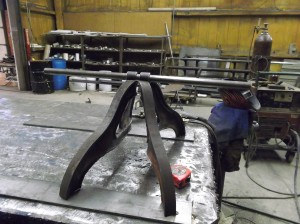
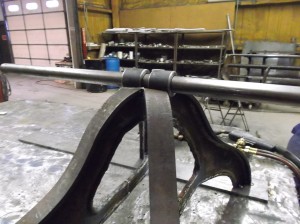
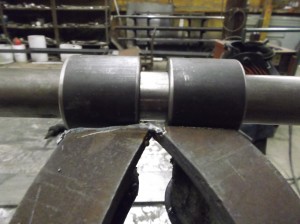
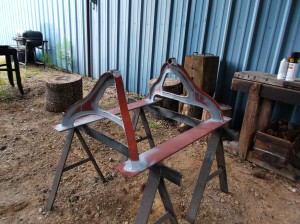
A shaft the size of the ID of the tubing is placed through both bearings and leveled with the table and tacked in place. This ensures when they are spread apart they are at the same heigth .
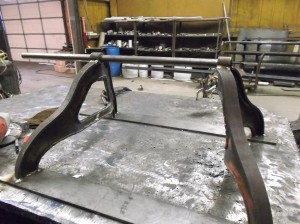
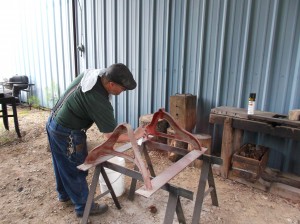
With the bearings at the proper distance apart for the gudgeons, the shaft is place back in the bearings for alignment and the legs are tacked to the base plates.
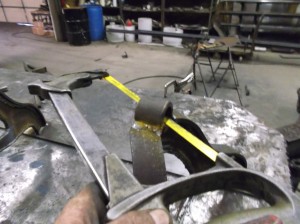
One bearing has to be split to allow the gudgeon with the rope lever to be placed. For ease of moving and instalation this will be left off and be epoxied back on after the bell has been installed at Dr Sugg's home.
