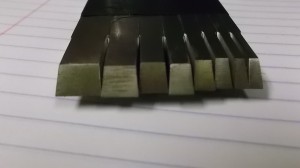
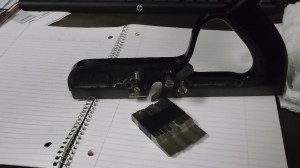
Cutters for a Stanley 248
On ocassion, I am asked to repair an antique tool or make missing parts for them, such is the case here.
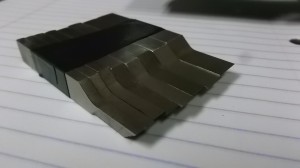
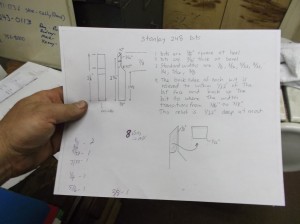
I was asked by a good friend of mine, Bill Anderson, to make a set of cutters for a plane he had picked up, a Stanley 248. The set consisted of a 3/8", 5/16" 1/4", 7/32", 5/32", 3/16", and 1/8" cutter with Bill wanting an additional 1/8".
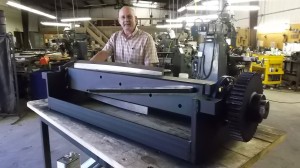
As luck would have it, we had just finished a rotory cutter with A2 blades so I had some material left over to use and keep the cost down for Bill. Here is the cuter with my partner Buddy Manning.
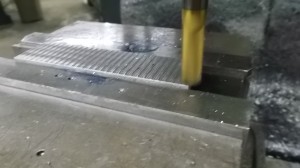
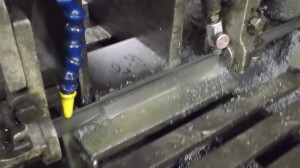
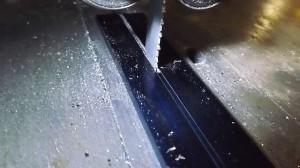
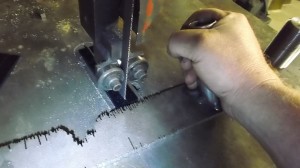
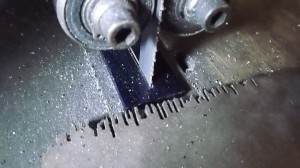
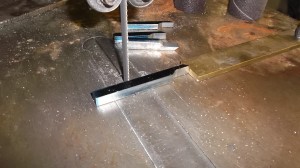
The A2 stock was 1" by 4" so I squared up the ends of a couple of drops and started sawing out the blanks for the cutters.
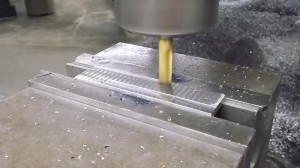
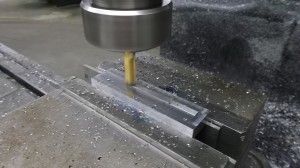
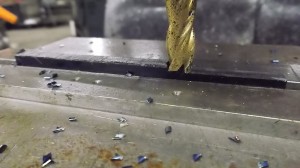
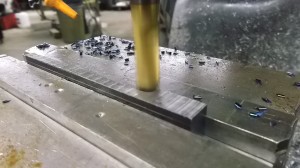
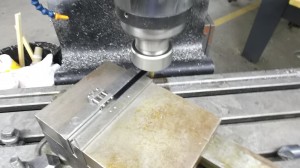
With the blanks sitting on two parrallels in the vise, I first machine one side of the cutters flat.
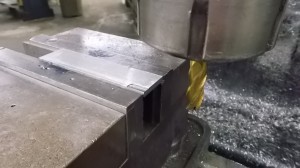
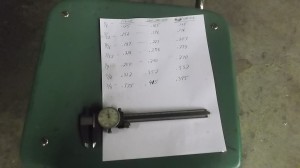
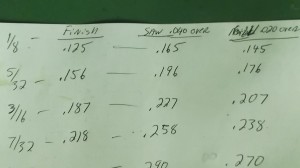
After one side has been machined flat and deburred, the blanks go back into the mill to be brought to .020" of their finished widths. This extra will be ground off on the surface grinder after hardening.
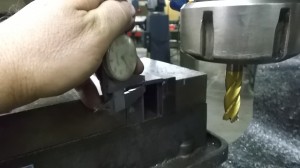
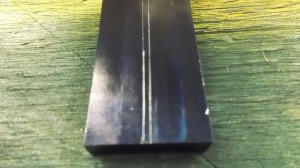
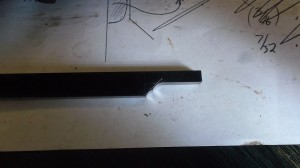
A "touched" place made by the endmill provides a reference to measure the thickness the endmill will leave and allows for correct adjustment of the depth of cut.
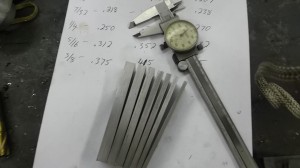
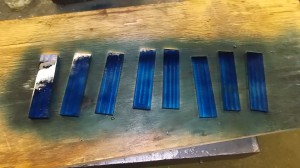
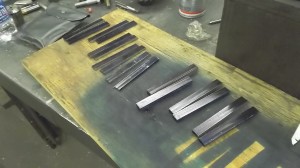
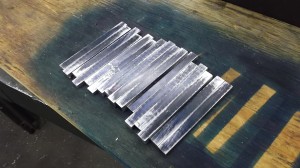
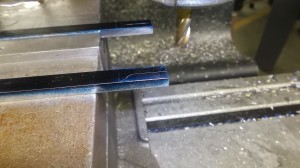
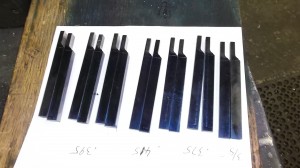
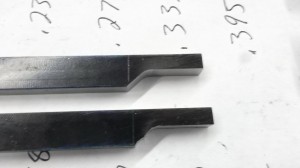
The blanks fresh from the mill. The finished cutters will all be 3/8" tall and vary in width. These blanks are 1" tall and vary in width. I did this because the stock I started with was 1" and would give me the abilty to size two sets of blades at one time.
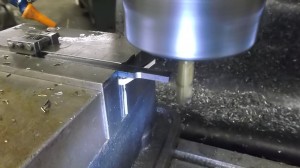
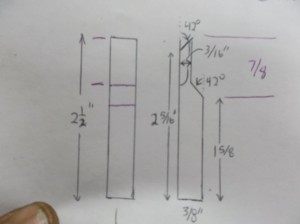
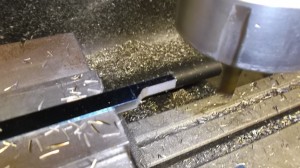
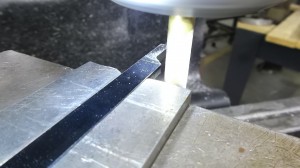
Mill up to the lines with the side of the endmill using two passes. This hoggs most the meat out and makes cutting the angle easier. Also, the side of the endmill leaves a better finish than the end.
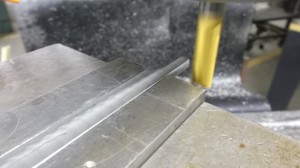
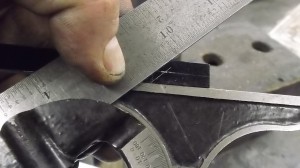
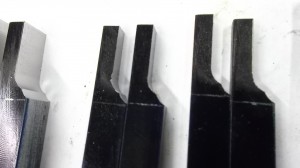
The bevel is 42 degrees as well but on the opposite side, so to machine it I just flip the cutters over and mill the meat off the ends.
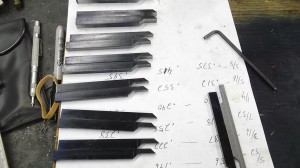
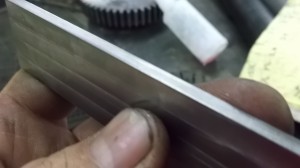
With the milling done, all that is left is to cut them to their length of 2-1/2". While machining, I left them 4" long from the stock so if I messed up one end I could turn it around and machine a new one on the other end, as you can see I had to do on the cutter to the right.
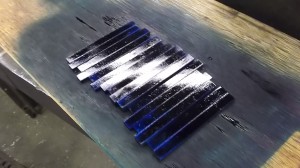
The cutters were sent out to Eastern Carolina Heat Treaters in Raleigh, NC. where they were hardened to rockwell 62.
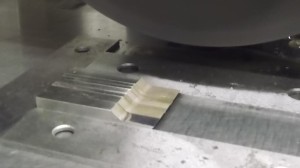
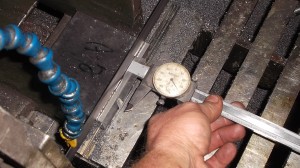
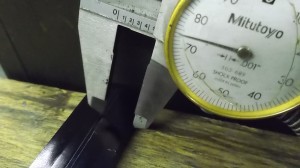
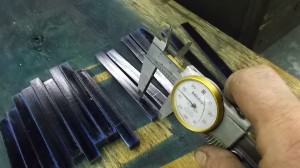
When they got back, I brought all their heights to .375" by grinding them on the surface grinder. This was a critical measurement as it had to fit in the slot of the plane without any loose play. I am doing one set at a time in case I miss the mark.
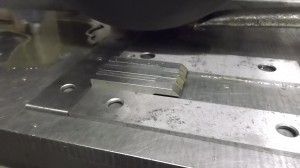
I took .010" off the top and now, with them turned over, I grind the rest ending up at .375. Grinding both sides removes the tool marks left by the endmill.
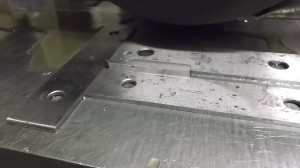
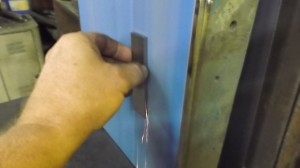
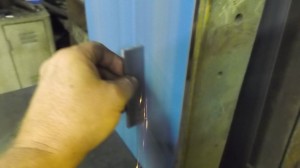
To get the width, I have to grind each cutter individually. I take .010" off one side and then the rest on the other side. This does more than clean up the tool marks, it also takes out any warping caused by heat treating.
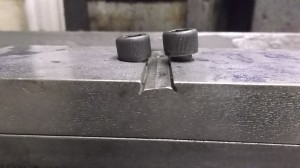
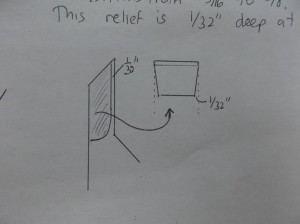
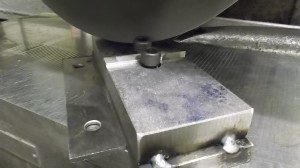
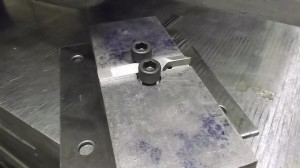
While they were at the heat treaters, I made a jig to hold them on the surface grinder at the angle needed for the relief on the sides. Two socket head cap screws will use the edge of their heads as clamps.
The cutters will be honed to a razor edge by Bill. You can visit his website at
www.edwardsmountainwoodworks.com
