Da Big Fix
-
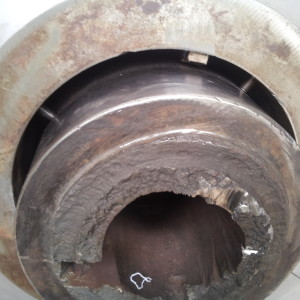
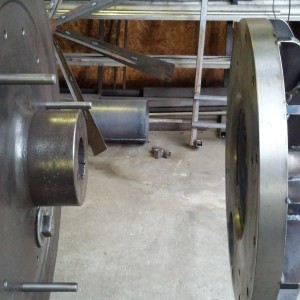
- This is the problem…
-
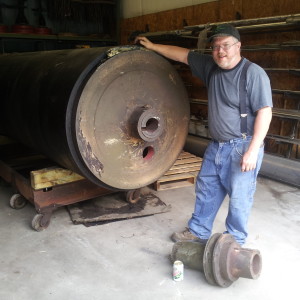
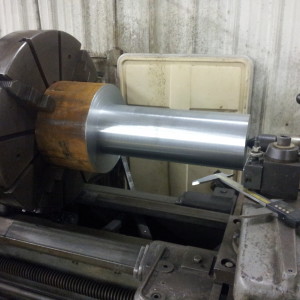
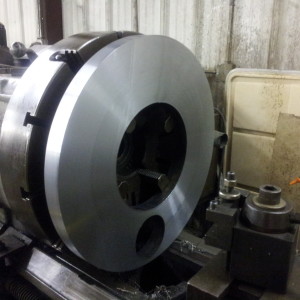
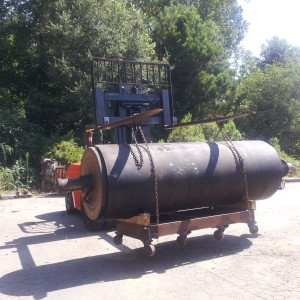
- Cast iron roller, 8,500 lbs, with the end snapped off
-
- Too long, too big, and too heavy for anything we’ve got.
-
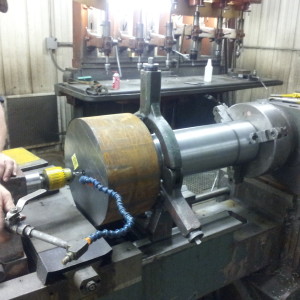
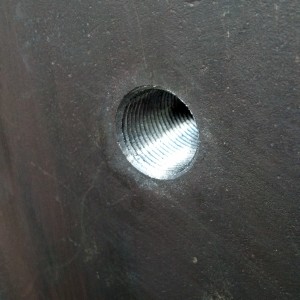
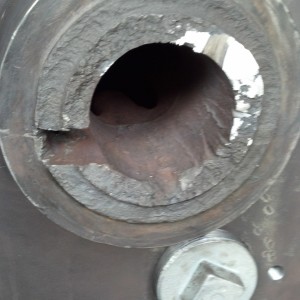
- End of roller
-
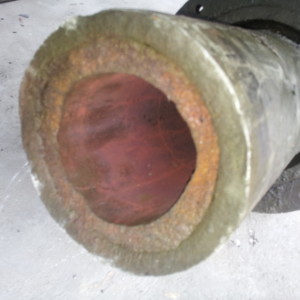
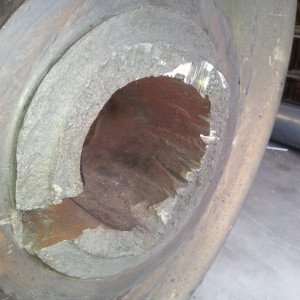
- End of broken shaft. You see its hollow to let steam in and out.
-
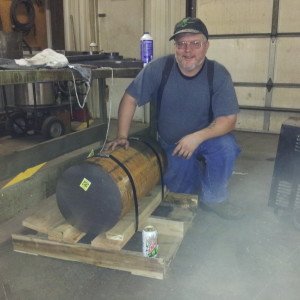
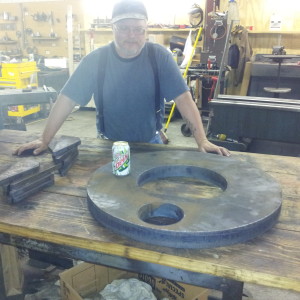
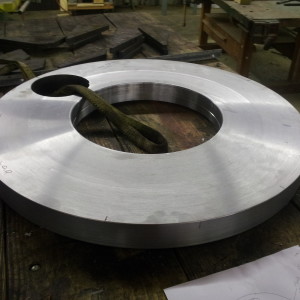
- Gonna make a peg leg patch out of this 13″ by 27″ piece of cold rolled.
-
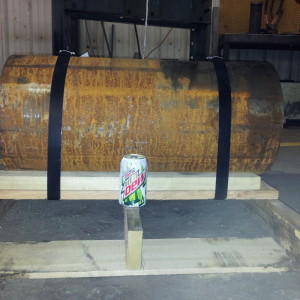
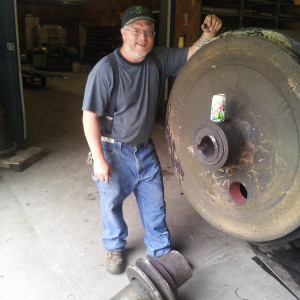
- Compare the size of the drink can to the size of the shaft.
-
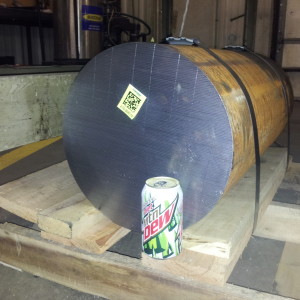
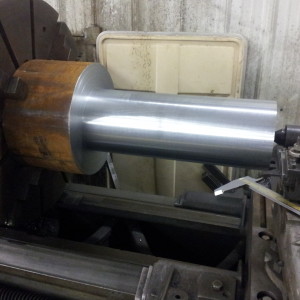
- 1,100 lbs of steel, 13″ by 27″
-
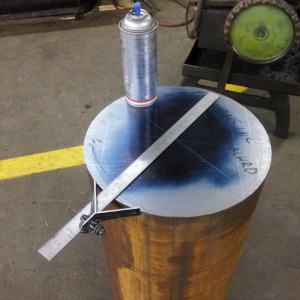
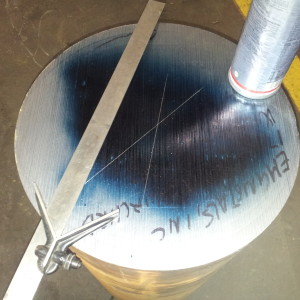
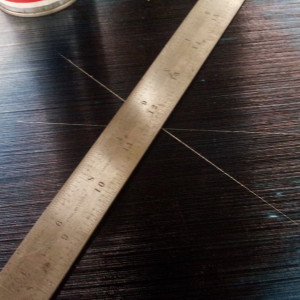
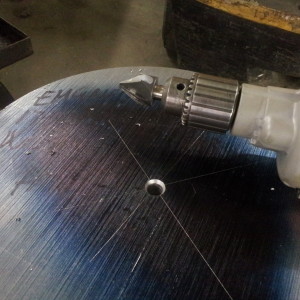
- Marking to center drill by hand because I don’t have a steady rest that will hold 13″ on the big lathe this will be turned in.
-
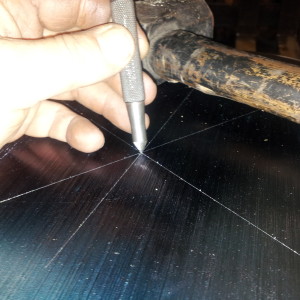
- Prick punching the center of the shaft.
-
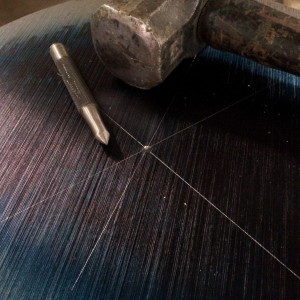
- Drill till I get a big enough hole to sink a center in.
-
- 60 degree countersing for the center.
-
- The center I will use, it fits fine.
-
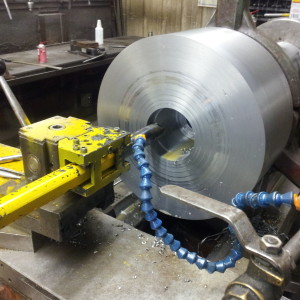
- In the lathe it goes
-
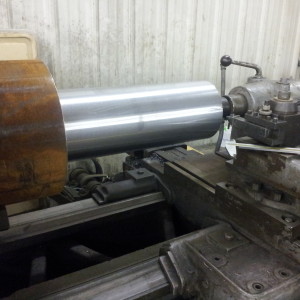
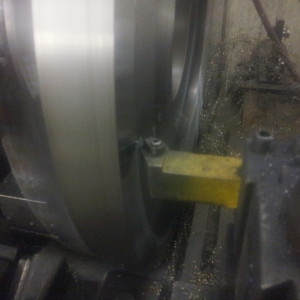
- Starting to turn.
-
- Putting Heavy radius on.
-
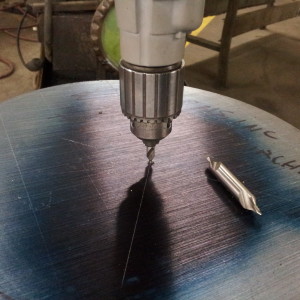
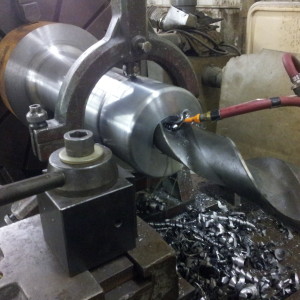
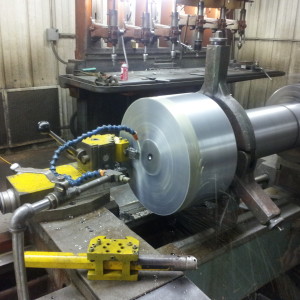
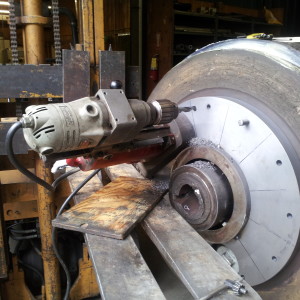
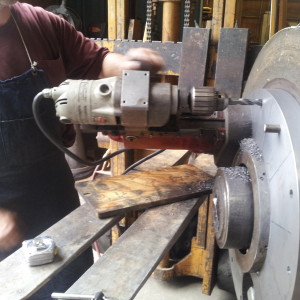
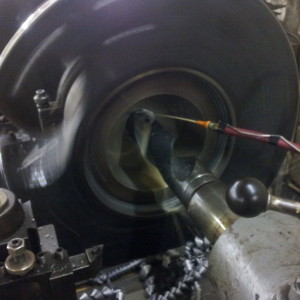
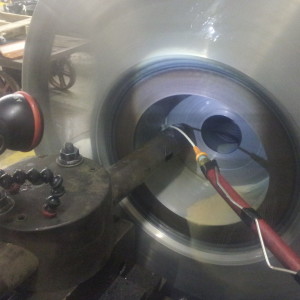
- Now our steady rest will fit and I start drilling.
-
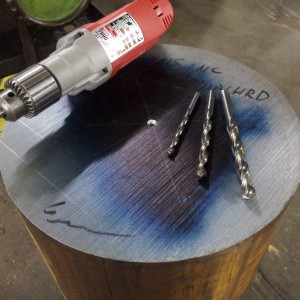
- Handed off the drilling job to Steve, you see he is very ingenious.
-
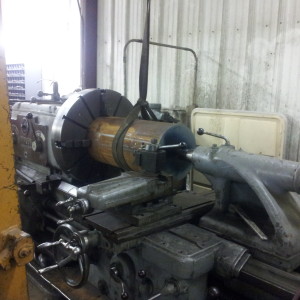
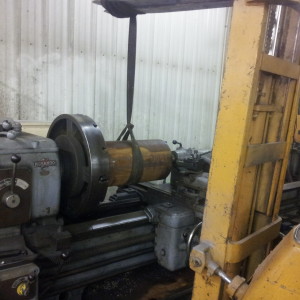
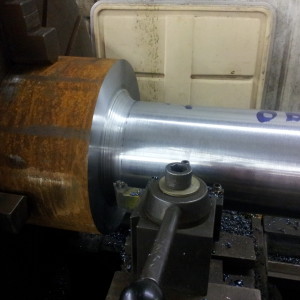
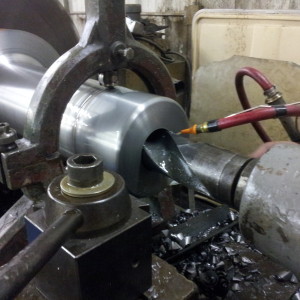
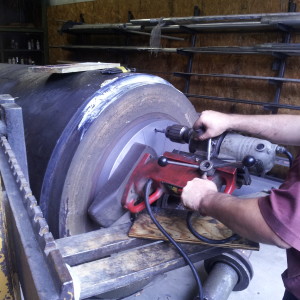
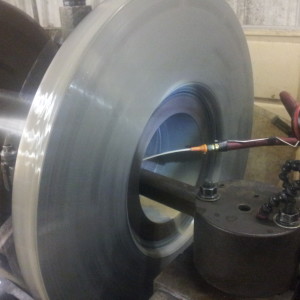
- 13 hours of turning and drilling later we take it out and put it in another lathe to do the back end.
-
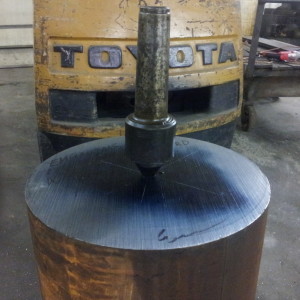
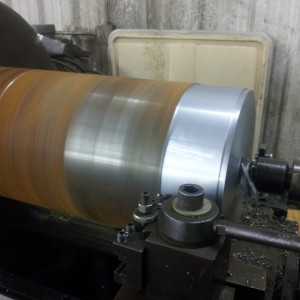
- This will be the end that grabs hold to the broken snoot of the roller. It wil be finish bored after we weld it to the flange.
-
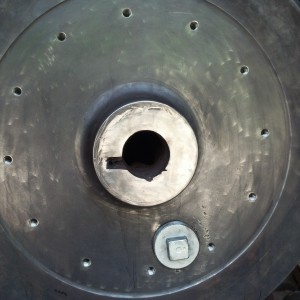
- Now that the big lathe is empty we can start on the flange that will bolt to the face of the roller and be welded to the shaft. We had this cut from 2″ thick plate. The smaller hole is an access hole for a 4″ pipe plug.
-
- Facing and boring.
-
- Drilling tap size hole to use as guides for drilling into the face of the roller. These will be opened up to clearance holes later.
-
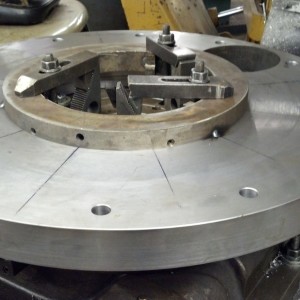
- Centered on the snoot with a mock up spacer to drill the bolt holes in the face.
-
- Clase up of spacer
-
- Using a magnetic drill and the forklift to help drill the holes.
-
- We later remove the flange and use the same drill and set up to tap the holes.
-
- 3/4″ fine thread hole 2″ deep. The face of the roller is 3″ thick so there is no worry the steam will break through.
-
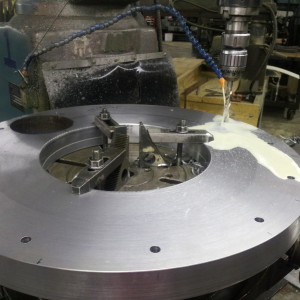
- Back to the mill to open up the holes.
-
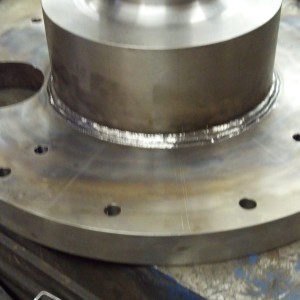
- Now we weld the two together. It does’nt show it but we have a shoulder on the shaft to register a depth and keep the flange square to the shaft.
-
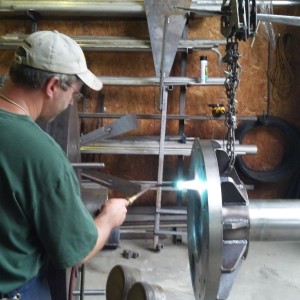
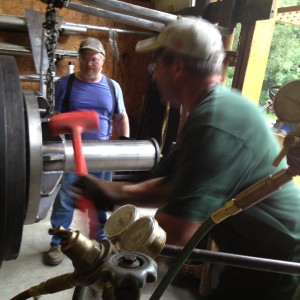
- Jason welded this. He is our “certified” / qualified welder and does a fine job. You will see him later with a big dead blow sledge hammering this on.
-
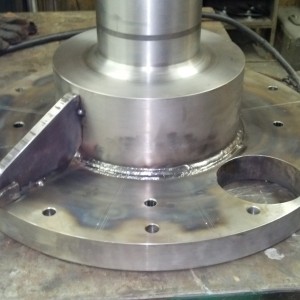
- Strutts are added for strength.
-
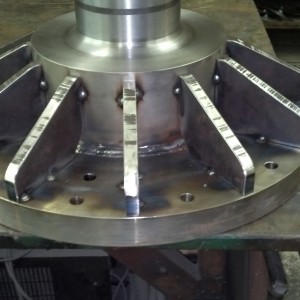
- Looking back, I think we over did it with the 3/4″ thick strutts, maybe 1/2″ would have worked.
-
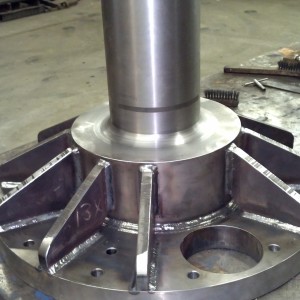
- We don’t put a strutt accross the access hole.
-
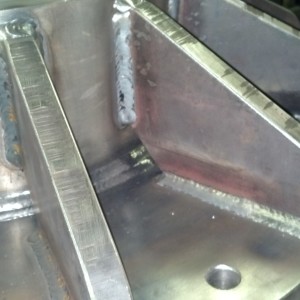
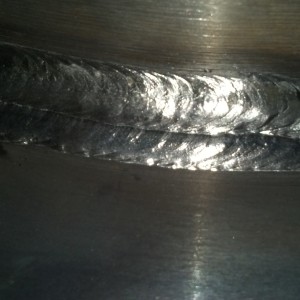
- Close up of fiished weld.
-
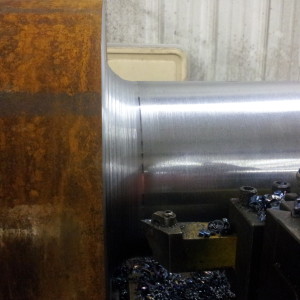
- Now the snoot has to be ground flat where it snapped off….
-
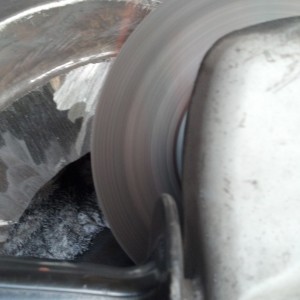
- takes about an hour and 4 wheels.
-
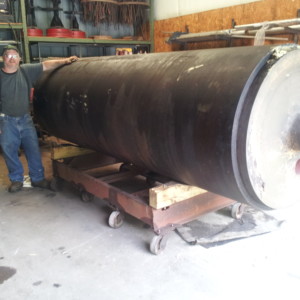
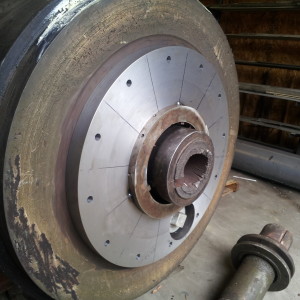
- End of roller cleaned and ready for assebly.
-

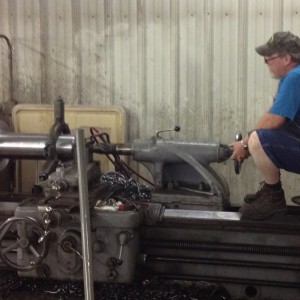
- Before we bolt the flanged shaft on, we put it back in the lathe …..
-
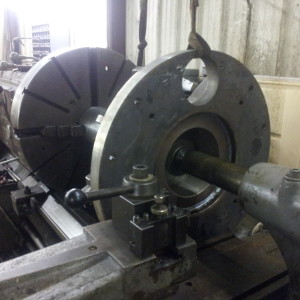
- to finish drilling all the way through, the drill we had would not go all the way through from one end.
-
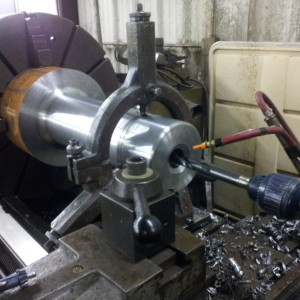
- Facing to square it with the shaft…
-
- Boring to true it to the shaft and give a .001″ press fit
-
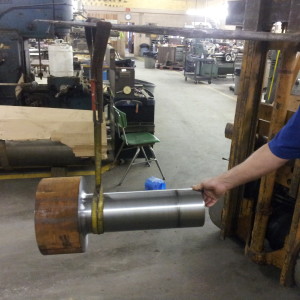
- Ready to bolt on.
-
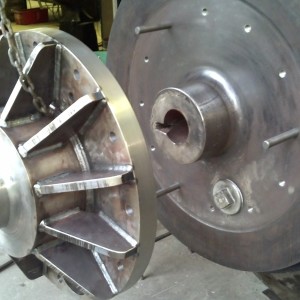
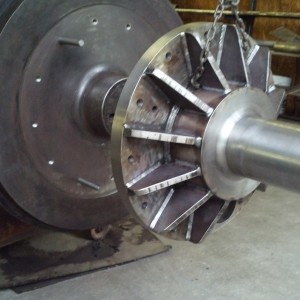
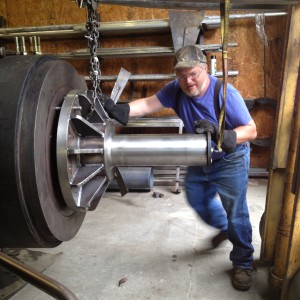
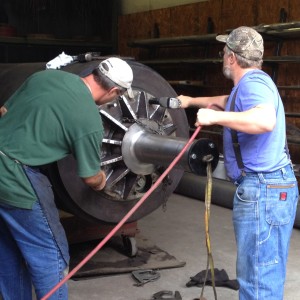
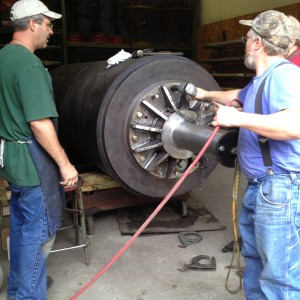
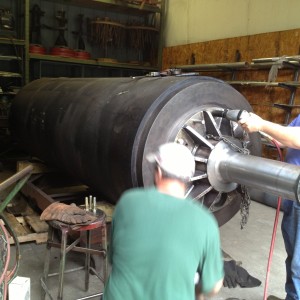
- As you see now, we are using the fact that the face of this roller and snoot were turned at the same time the OD. of the roller was. Our theory was that if we bolt against the face and heat shrink around the snoot that our peg leg patch will run concentric with the roller.
-
- Heating up the whole piece to expand the hole .
-
- It goes on pretty good….
-
- then stops!!!!!
-
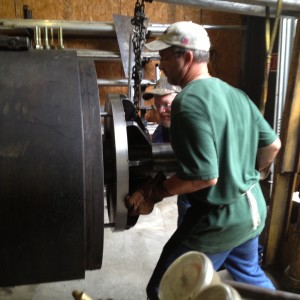
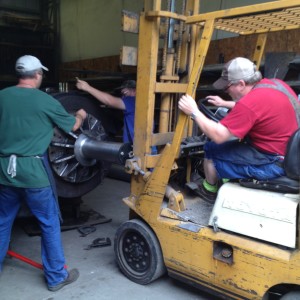
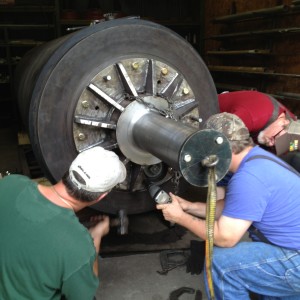
- Beating it on with large dead blow sledge…
-
- it moves with each blow but barely.
-
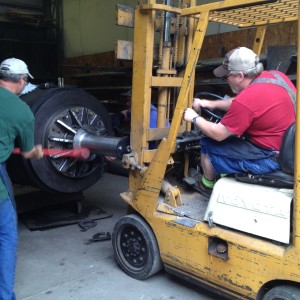
- Close enough for the impact to carry it home.
-
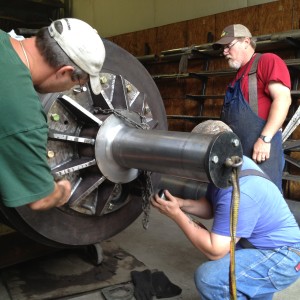
- All three of us (left to right Jason, me, and Steve) making sure it’s on all the way.
-
- In the commosion, something fell. I don’t know what it was…we’ll fix it later.
-
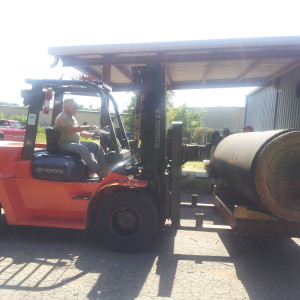
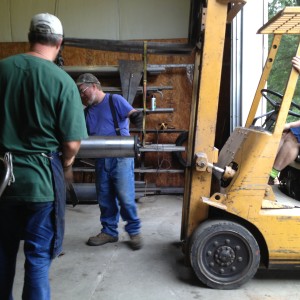
- A friends 15,000 lb forklift loading it up.
-
- You see in this picture how the other end looks….
-
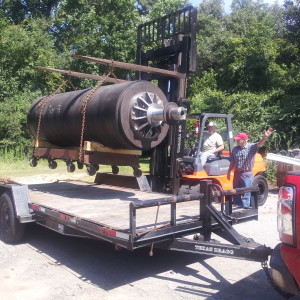
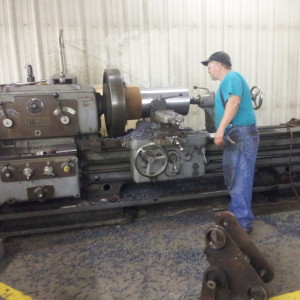
- compared to this end. Buddy, my partner, is in the red hat giving instruction. It is his forte.
-
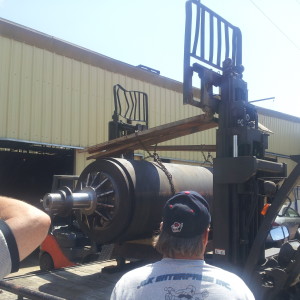
- At the customer’s plant unloading it with their two 5,000 lb forklifts.
-
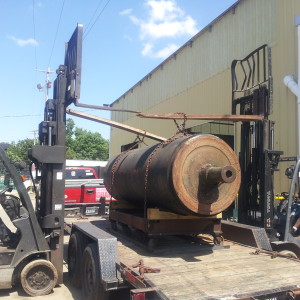
- Check out the fork bending.
To view more at industrialservicesofwilson.com Click Here